Monday, January 24, 2011

Wood Elf Update

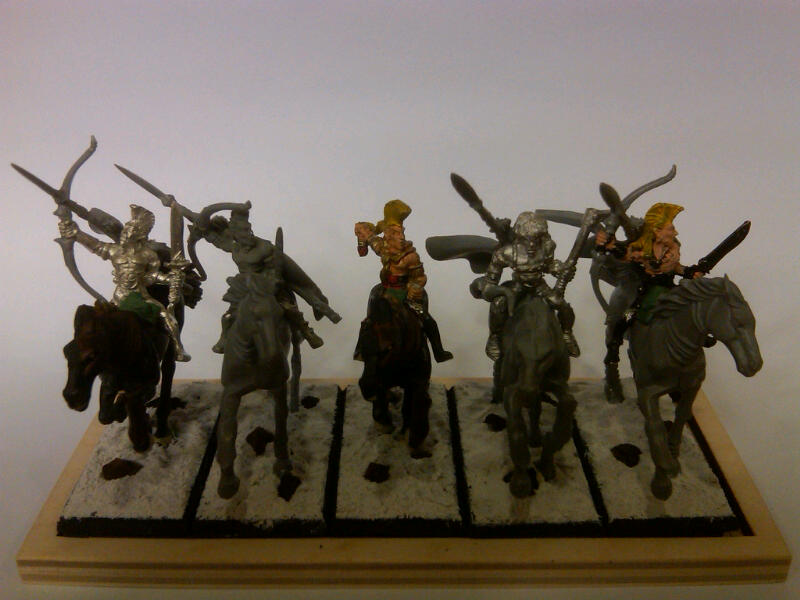
Here are pics of my wardancer-themed wood elf army for Waaagh!Paca 2011.  I spent a lot of time on the conversions, and it was painted to this stage in just one week with intense nightly focus.  A huge thanks to my friends Joe Rogers for paint night input and inspiration and to Caius for help with the color scheme and help basecoating.  I went 2-2-1 with it, and tied for second place sports.  I'm looking forward to carrying through with more highlights, details, and an involved display base.
Wardancer-themed Wood Elf Army for Waaagh!Paca 2011

Eternal Guard (with Mage and General on front right)

Glade Riders (front)

Glade Riders (side)

Glade Riders (back)
 
Warhawk Riders


Wild Riders
Wardancers

Dryads (front)

Dryads (top)

Treekin Unit 1

Treekin Unit 2


Sunday, January 9, 2011

Wood Elf Update

Got the dryads assembled and based except for their heads.  I am loving the dryad bits on daemonette bodies.


Saturday, January 8, 2011

Wood Elf Update

I have gotten organized to assemble my dryads which are converted with daemonette bodies and to assemble my warhawks.  With luck, I'll get these mostly done tonight.

I've realized I will only have 1 week to paint the entire army.  So I will be using washes galore.

Wood Elf Update

I converted two standards, a wild rider and a glade rider.  I used decorated elf swords on the tops of the standards.  Note, the glade rider's quiver goes under his hair.


Sunday, January 2, 2011

Wood Elf Update

So, after about an 8 month hiatus, I was able to get a lot done over Christmas break.

I revised my 2000 pt list as such:

1 Highborn @ 255.0 pts (Eternal Kindred; General; The Rhymer's Harp; An Annoyance of Nettlings)

1 Lvl3 Spellweaver @ 245.0 pts (Wildheart, Stone of Rebirth)

12 Dryads @ 144.0 pts
15 Eternal Guard @ 210.0 pts (Full command)
5 Glade Riders @ 147.0 pts (Musician; Standard Bearer)

3 Warhawk Riders @ 120.0 pts
7 Wild Riders of Kurnous @ 225.0 pts (Musician; Standard Bearer; War Banner)
4 Tree Kin @ 260.0 pts

Total Roster 1999 pts

Then I built 7 of the 8 treekin
I greenstuffed the loin cloths on the wild riders (shown) and glade riders along with applying cork and pumice to the bases.
Then I converted the 4 of the 5 glade riders to have bows, capes, spears, and a musician.  I plan to convert the standard bearer this week.


Then I planned the display base, and I got some woodland scenic tree materials.  In addition I got lightweight hydrocal casting plaster and rock molds.

Sunday, April 11, 2010

Wood Elf Update

The dryad conversion work continues.
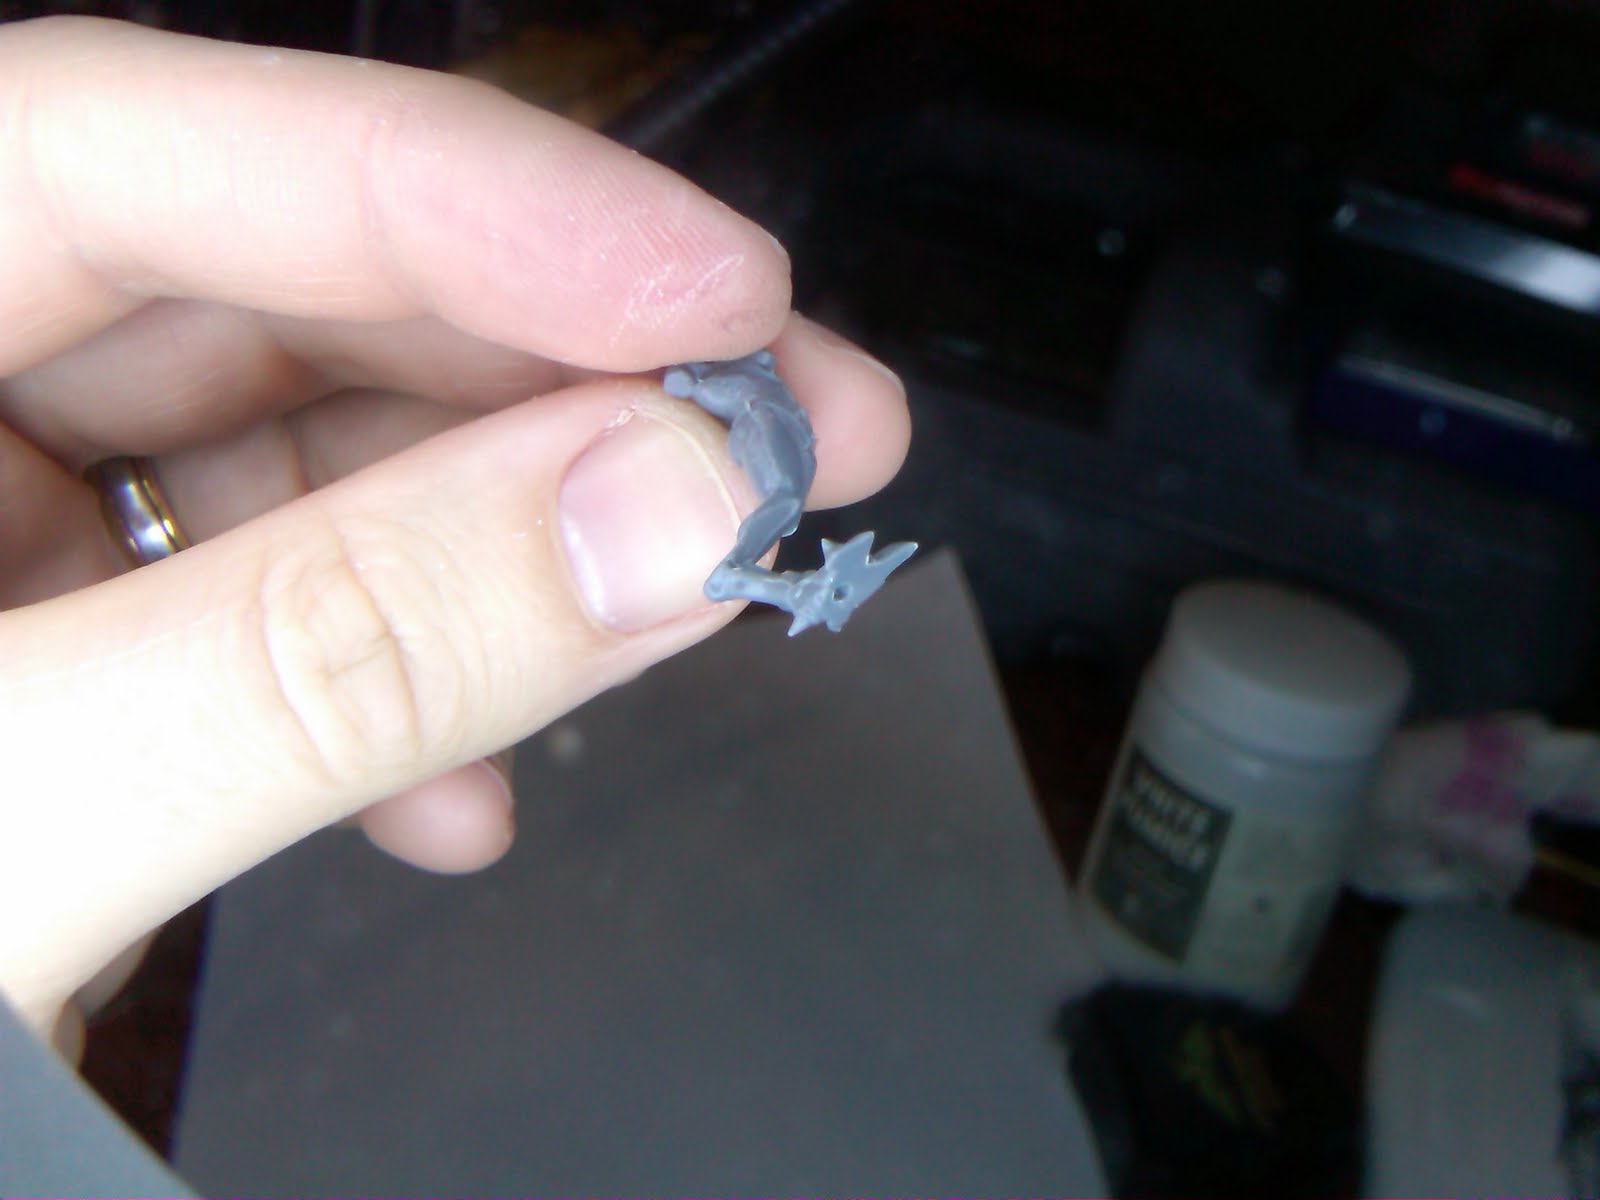
So I decided to further convert some of my dryads by using a dryad leg with the daemonette torso and leg.  First I separated the daemonette bodies with right legs from those with left legs.  Turns out there are 5 of each per box, which is nice.  Then I compared dryad leg options until I found a good match.  I used clippers to get the dryad leg close to shape, and then I carefully carved with an exacto until the leg fit just right.  I tried to retain as much detail as possible to minimize green stuff work later.
Next I studied the pieces to figure out the placement and orientation for the pin.  I spun the exacto knife on point to make a starting position for the drill.  Then I drilled holes in each piece, and cut a paperclip to length for the pin.
I superglued the pin to the leg and put greenstuff in areas that needed to be filled or shaped.  Then I applied superglue to the hole in the torso and pressed the pieces together.  I used steel modelling tools to press and shape the green stuff.  When the superglue was dry, I used a wet teflon colourshaper tool to finish the greenstuff sculpting, smooth edges, and remove fingerprints.
I am quite pleased with how they turned out!  This group achieves a nice transition stage for the dryads in their transformation from female spirits to their war aspects.  This transformation is the key design element for my tree spirits.

Saturday, April 3, 2010

Wood Elf Update

So, I decided to use the new daemonette plastics for my dryad bodies instead of the 6th edition metals.  Obviously, plastic is easier to work with.  Also, they are a bit bigger, and the arms don't look too big on them.  In fact, I think they look just right.  Both the dryad arms and the daemonette body have shoulders.  So there is a bit of detail carving to get them to fit together and look appropriate.
Regular GW bases would be easy to glue the daemonette legs to.  However, I am using GF9 bases, and I am taking care to keep the feet from being covered by the basing pumice.  So after trimming the flash from the main body and leg, I carve a starter hole for drilling.  I make the placement is appropriate so the drill can go for about an 1/8 inch without breaking through the ankle.
Then I drill.  As you can see, these are skinny parts.  I am only drilling big enough to fit the smallest paper clip.
Then I glue the paperclip in place to be cut to length later.
This de-flashing, carving, drilling, and pinning must be done to each leg!  The GF9 bases take less force to remove from the magnet sheet in the movement tray than the rare earth metal magnets.  This is good because these legs are skinny, and I don't want them to fatigue due to handling.

Next I find the dryad arms I want to work with, decide on the position, do some detail carving to both the arm shoulders and the body shoulders, and use plastic glue to get a permanent bond.  There is then some filing and greenstuff action required to make the connection smooth and transparent.

I then use a larger drill (1/16 inch) to put holes in the GF9 base.  There was too much resistance for the skinny plastics when I used the smaller drill in the GF9 base.  I was likely just going to snap the model at the ankle.  So more clearance allowed an easier fit up, and better accomodated the model since the pins in each leg were at different angles.  I pummice the base leaving the holes just barely visible, add super glue, and position the dryad on top of the pumice.  Ta Da!